


Accenting your home with beautiful works of art can be a great way to express yourself and add personality to a room. Still, if you're searching for something elegant and timeless that adds a subtle flourish simultaneously, customized metal wall art is an excellent choice. Not only does it look modern and sophisticated, but it's also incredibly versatile, so you can find pieces that fit any style or aesthetic. And best of all – installing metal art may seem intimidating, but it's relatively easy! Here's everything you need to know about how to hang metal wall art in your own home.
What To Use To Hang Metal Wall Art
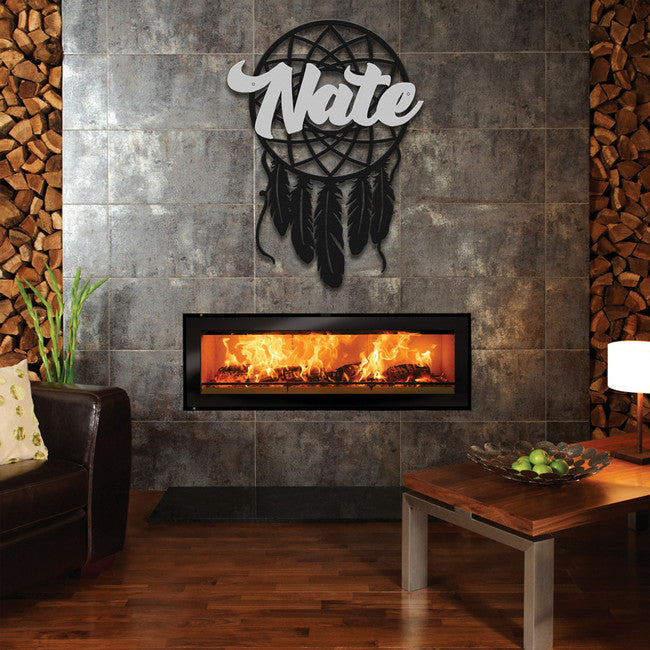
Hang Metal Wall Art
Metal art can be a great addition to any home decor. Unlike traditional wall hangings, metal art pieces add a touch of modernity and sophistication to your living space. They come in various designs, sizes, and shapes that you can choose from to complement your taste and style. Whether you prefer abstract, monochromatic, or colorful pieces, metal wall art can create visual interest and become a conversation starter in your home.
Hanger
When it comes to hanging metal wall art, choosing the type of hanger is crucial to ensure that your metal art piece remains securely on the wall. Metal art hangers are available in different styles, such as sawtooth, wire, or D-rings. While some metal art pieces come with attached hangers, others may require installing them yourself. Choosing the right hanger for your metal art is crucial to prevent the piece from falling and getting damaged.
Wood Screws or Nails
The choice of screws or nails to hang metal wall art depends on the size and weight of the piece. If you're hanging a lightweight metal art piece, nails should suffice. However, wood screws are a better option for heavier metal art as they provide more holding power. Additionally, you'll want to ensure your screws or nails penetrate the wall studs for maximum support. The right type of wall anchors can give the required support.
Level
Before hanging art, it's essential to ensure that it's level. A tilted or lopsided piece can be unsightly and irritating to look at. You should use a level to determine the correct position of your metal artwork. You can also use adhesive strips or double sided tape to secure the hanger to the wall and keep your metal wall art in place. Following these guidelines, you can enjoy your metal wall art for many years.
Tape Measure
A tape measure is essential to ensure the accurate placement of metal art. When measuring, start at the wall's center point where you want to hang the artwork. Measure the height and width of the art piece to determine the placement. Use a pencil to mark the center point and any necessary measurements for the hanging hardware. Double-check your measurements before making any holes in the wall for hanging. A tape measure is a simple but crucial tool that will make hanging metal wall art much more manageable.
Stud Finder
A stud finder is another crucial tool for hanging metal wall art, especially for larger and heavier pieces. A stud finder can detect the position of wooden studs beneath the drywall. These studs provide the necessary support and stability for more serious artworks. Start by using the stud finder to find the middle of the stud where you want to hang the metal wall art. Mark your points with a pencil, hammer, and nail to create a starting hole. Ensure you drill into the center of the stud and use appropriate hardware, such as screws and anchors, to secure the art piece. Using a stud finder gives you the peace of mind that your metal wall art will remain safely and securely in place for years to come.
Pencil
A pencil can be a handy tool to have on hand to hang metal art. This simple writing instrument can help you mark where to place the nails or screws to hang your art. Using a pencil instead of a pen or marker is essential because it won't leave a permanent mark on your wall.
To use a pencil to hang metal wall art:
- Start by measuring the height and width of your piece.
- Use a level or a straight edge to ensure the metal art is leveled.
- Make light marks on the wall where you want to place the nail or screws.
- Double-check your measurements and patterns before hammering in the nails or screws.
Weighing Scale
A weighing scale may seem like something other than a prominent tool for hanging metal wall art, but it can be helpful. By weighing the art before hanging it, you can ensure you're using the correct hardware for the job. It can prevent the art from falling off or damaging the wall itself.
First, use a weighing scale to hang metal wall art to determine the piece's weight. Then, check the hardware that came with the piece to see its weight limit. If the piece is too heavy for the hardware provided, purchase heavier-duty hardware. Be sure also to check the weight limit of the nails or screws you plan to use and adjust accordingly. With these measurements in mind, you can confidently hang your metal wall art without any worries.
How To Hang Metal Art on Walls
Choose A Strong Hanger
When it comes to hanging metal art, choosing a solid hanger that can support the weight of your artwork is essential. Opt for a metal or sturdy plastic hanger, such as a D-ring or Z-bar hanger. These hangers distribute the artwork's weight evenly, preventing it from tilting or falling off the wall. Avoid using nails or adhesives, as they may not be strong enough to securely hold the weight of metal wall art.
Find A Stud In Your Wall Using A Stud Finder
Before drilling holes in your wall, finding a stud to anchor your hanger is essential. Use a stud finder to locate a secure spot on the wall where you can hang your metal wall art. Studs are wooden beams behind your drywall that support your artwork. Once you have located a stud, mark its location with a pencil.
Mark Where You Wish To Hang Your Art
Once you have found a stud, determine where you want to position your metal wall art. Use a measuring tape and a level to ensure that your artwork is centered and leveled on the wall. Mark the exact spot where you want to hang your art with a pencil.
Determine The Hanger's Placement
Determine where you need to place your hanger on the back of your metal wall art. Measure the distance between the two hanger attachment points and mark the corresponding spots on the back of your artwork. Make sure the hanger is level with the mark on the wall you made earlier. Once you have marked the position of the hanger, attach it securely to the back of your metal wall art. Your artwork is now ready to hang securely on the wall!
Mark Your Exact Hanging Spot
The next step in hanging metal art is to find the perfect spot for it. Measure the length and width of the artwork and mark the exact center point on the wall with a pencil. This will ensure that your artwork is placed exactly where you want it.
Secure The Hanger On The Stud
Once you have marked your spot, it's time to secure the hanger on the stud. Use a stud finder to locate the nearest stud in your wall and install the hanger directly onto it. It is important to do this to ensure that your artwork is securely fastened and will not fall off the wall.
Hang Your Metal Artwork On The Hanger
Once the hanger is securely fastened onto the wall, it's time to hang your metal artwork. Make sure to attach the hanger to the back of the artwork and adjust it until it is level. Then, carefully lift the artwork and hang it on the hanger.
Use A Level To Verify That Your Piece Is Even
After hanging your custom outdoor metal wall arton the hanger, use a level to verify that your piece is even. Place the level against the top of the artwork and adjust it until it's perfectly straight. This will give your artwork a professional and polished look.
Conclusion
Overall, hanging metal wall art can easily become a dynamic addition to any room. With the right tools and techniques, you can turn an empty wall into an oasis of style and creativity! It's important to take into consideration not just the design of the artwork but also the size and weight before deciding how to hang it. Additionally, be sure to remember to use nails that are specifically used for hard walls, such as cement or brick, as well as appropriate hangers when trying to mount metal properly. We hope that this guide has helped you hang your metal wall art securely so you can enjoy it for years to come!